
If your walking cane is causing shoulder pain, it’s a sign that it’s being used as a crude prop rather than the precision tool it should be. The generic advice on sizing is often incomplete, leading to compensatory strain. The key is to view the cane and user as a single ergonomic system, where every element—from the handle grip to the rubber tip—must be calibrated to prevent a cascade of force that ends in your shoulder.
That walking stick you borrowed, or the one that’s been in the family for years, may seem like a trusty companion. But if a nagging ache in your shoulder has become its new partner, there’s a problem. You’ve likely followed the common advice: measure to the wrist crease, keep a slight bend in the elbow. Yet, the pain persists. This is because such advice often overlooks a fundamental truth: a cane is not a passive support, but an active part of your body’s kinetic chain.
Shoulder pain from a cane is rarely a sign that you are too weak; it is a sign of poor engineering. The issue is not the support, but the transfer of force. An improperly sized or poorly chosen cane forces your body into a state of constant, low-grade compensation. This creates a chain reaction of strain that begins at your hand, travels up your arm, and culminates in your shoulder joint. It transforms a tool meant for stability into an instrument of discomfort.
This guide moves beyond the basics. We will dissect the cane as an ergonomic system, component by component. We will analyze how the handle’s shape, the shaft’s rigidity, and the tip’s grip on the ground all contribute to either alleviating or exacerbating the load on your shoulder. By understanding these mechanical principles, you can recalibrate your walking aid to eliminate pain and restore true, effortless support.
To master this tool, we must deconstruct it. The following sections will guide you through the critical choices and techniques that separate a painful prop from a perfect ergonomic partner.
Summary : A Comprehensive Guide to Eliminating Cane-Related Shoulder Strain
- Derby vs Offset Handle: Which Is Better for Arthritic Hands?
- Ice Tips vs Rubber Ferrules: Adapting Your Cane for Winter?
- Quad Cane vs Standard Cane: When Do You Need 4 Points of Contact?
- The Risk of Holding the Cane in the Wrong Hand
- Folding Canes vs Solid Shafts: Is Stability Compromised?
- How to Alternate Heat and Ice for Morning Joint Stiffness?
- Why Grip Strength Is the #1 Predictor of Long-Term Autonomy?
- How to Distinguish Between a Standard Walker and a Rollator?
Derby vs Offset Handle: Which Is Better for Arthritic Hands?
The first point of contact between you and your cane is the handle. This interface is the most critical juncture for force transmission. An incorrect handle choice for your specific needs will inevitably create compensatory strain that radiates up to your shoulder. The debate often centers on two popular designs: the classic Derby and the ergonomic Offset handle.
The Derby handle is prized for its traditional look and comfortable hook-like shape, which allows it to be hung over the arm. However, its design can encourage an outward angulation of the wrist, placing stress on the joint. For users with arthritis, this can be an immediate source of discomfort that the shoulder then tries to stabilize, leading to pain.
In contrast, the Offset handle is engineered specifically to address this issue. Its “swan neck” design positions the user’s hand directly over the cane’s shaft. As mobility aid experts at Carex note, offset handles distribute weight evenly along the shaft, significantly reducing pressure on the wrist. This neutral wrist position is paramount for those with arthritis, as it minimizes the initial point of strain in the kinetic chain.
The choice is not merely aesthetic; it is a fundamental ergonomic decision. The following table breaks down the key differences to help you assess which handle best suits your biomechanics.
| Feature | Derby Handle | Offset Handle |
|---|---|---|
| Wrist Alignment | Standard position | Neutral wrist position |
| Weight Distribution | Over handle area | Directly over shaft |
| Best For | General use, classic style | Arthritis, wrist strain reduction |
| Shoulder Impact | May encourage outward wrist angle | Reduces shoulder stabilizing muscle work |
| Material Options | Wood, plastic, rubber | Padded foam grip common |
For anyone with hand or wrist discomfort, the offset handle is not an “alternative”; it is the correct ergonomic starting point. By stabilizing the wrist, you prevent the first domino of compensatory strain from falling.
Ice Tips vs Rubber Ferrules: Adapting Your Cane for Winter?
The stability of the entire ergonomic system begins where the cane meets the ground. A standard rubber ferrule provides excellent grip on dry, even surfaces, but becomes a liability on ice or snow. Adapting your cane for winter with a specialized ice tip is not just about preventing slips; it’s about maintaining the correct biomechanics to protect your shoulder.
An ice tip, typically a metal prong or a set of prongs that can be flipped down, bites into slippery surfaces. However, this change in hardware necessitates a change in your technique and cane setup. The ice tip adds a small amount of length to the cane, typically around half an inch. Failing to adjust for this can make the cane too tall, forcing your shoulder to “hike” upwards with every step—a direct route to strain.
Furthermore, the mechanics of walking change. With a rubber tip, you can have a more fluid, rolling motion. With an ice tip, you must adopt a more deliberate “planting” motion. You place the tip firmly before transferring weight. A half-hearted placement can lead to a micro-slip, and your shoulder will reflexively tense to correct the instability, causing a jarring force through the joint. This demonstrates how the tip’s performance directly affects shoulder biomechanics.
A useful parallel is the technique for Nordic walking poles. As one analysis shows, these poles, which use tips similar to ice grips, require a deliberate planting motion to prevent reactive shoulder jarring. The same principle applies to a winter-adapted cane. Choosing the right tip is only half the battle; you must also adjust your height and your motion to maintain a stable, pain-free kinetic chain.
Winter adaptation is an active process. You must shorten the cane to account for the new tip height and consciously practice the planting motion on a safe surface before venturing out. This preparation turns a potentially hazardous tool into a reliable winter support.
Quad Cane vs Standard Cane: When Do You Need 4 Points of Contact?
When a single point of contact is insufficient to provide the necessary stability, many users consider a quad cane. However, transitioning from a standard cane to a quad cane is not a simple upgrade; it represents a fundamental shift in the ergonomic system. Understanding when and how to use one is crucial to avoid trading one balance problem for a new shoulder problem.
A standard cane is designed to support up to 25% of your body weight and function as an extension of your natural arm swing. A quad cane, with its four-pronged base, offers a much wider and more stable base of support, capable of standing on its own. This makes it ideal for individuals with significant balance deficits or weakness on one side of the body, such as post-stroke patients.
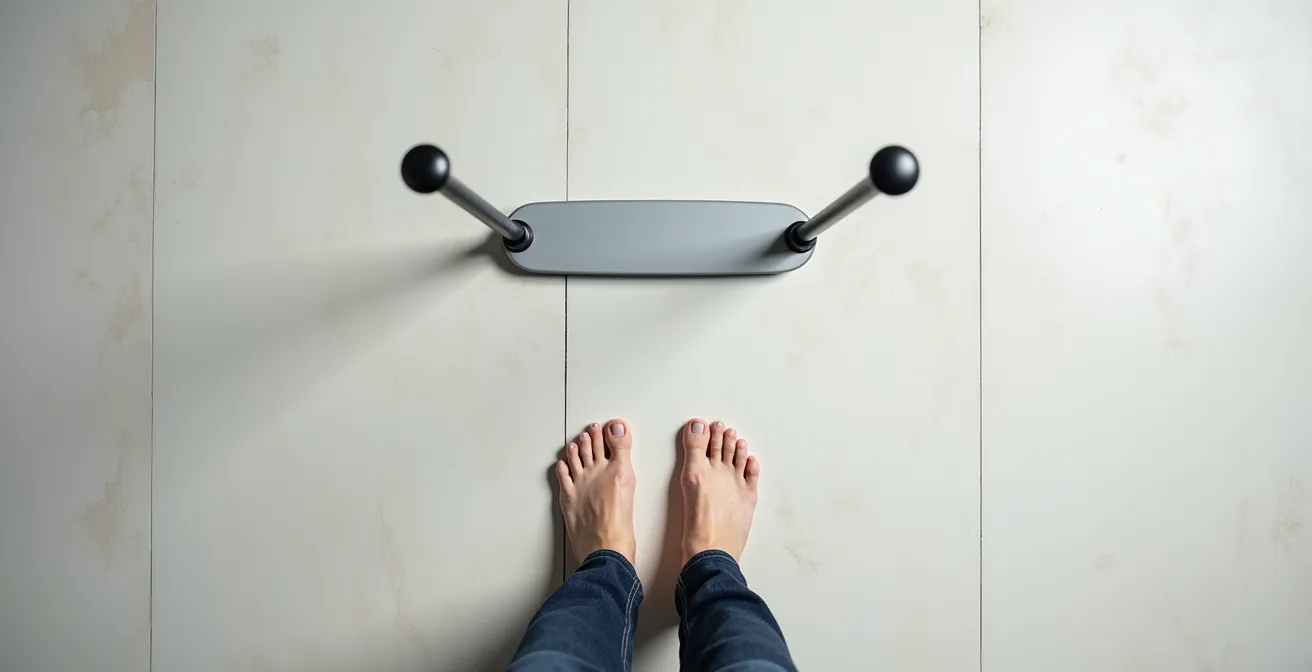
The critical error in using a quad cane is positioning. The wider base can be cumbersome, and users often place it too far away from their body, forcing a reach. This outward reach puts immense torque on the shoulder. The correct technique is to keep the cane close, with the flat side of the base oriented towards your body to prevent tripping. The illustration below shows the proper alignment to minimize shoulder strain.
The distinction between a cane and a walker becomes relevant here. As explained in the Cleveland Clinic’s guidelines, a cane is a single point of support requiring shoulder engagement for control, while a walker provides a “frame of stability.” A quad cane sits in a unique middle ground. It’s not a frame you step into, but it offers more passive stability than a standard cane, reducing the need for constant muscular stabilization from the shoulder—if used correctly.
A quad cane should be a deliberate choice prescribed by a physical therapist. While it offers superior stability, its potential for inducing shoulder strain through improper use is high. It is a specialized tool, not a “better” standard cane.
The Risk of Holding the Cane in the Wrong Hand
One of the most pervasive and damaging errors in cane use is holding it on the wrong side. The counter-intuitive but correct rule is to hold the cane in the hand opposite your weaker or painful leg. Using the cane on the same side as the weak leg disrupts your body’s natural gait and forces the shoulder into a painful, compensatory role.
When you walk, your arms and legs swing in opposition. Your right leg moves forward with your left arm, and vice versa. This creates a balanced, rotating motion in your torso that is essential for stability and efficiency. Holding the cane on the opposite side of the injury allows you to maintain this natural rhythm. The cane and the weak leg move forward together, supported by the strong leg. The cane effectively becomes your “good” arm, sharing the load and allowing your pelvis and torso to rotate normally.
Holding the cane on the same side as the weak leg forces you to lean. You are placing your support on the side that is already compromised. This action hitches your hip and shoulder, creating a significant lateral tilt and immense shearing force on the shoulder joint. A revealing sign of this error is the wear pattern on the cane’s rubber tip. Physical therapy assessments have shown that leaning excessively creates angled wear, a clear indicator of improper, unbalanced weight distribution rather than supportive use.
Determining the correct hand is not always simple, especially with complex issues like a weak leg on one side and a painful shoulder on the other. A systematic check is required.
Your 5-Point Cane Usage Audit
- Assess your primary weakness: Hold the cane in the hand opposite the weaker or more painful leg. This is the default, correct position.
- Observe your natural gait: Walk a short distance and check your arm swing. Does the cane move naturally with the opposite, weaker leg? Your torso should rotate slightly, not tilt.
- Monitor your shoulder: Check for “shoulder hiking.” Your shoulder should remain relaxed and down. If it creeps up towards your ear, the cane is likely too high or you are leaning on it incorrectly.
- Check your pelvis: Your hips should remain relatively level. If one side is jutting out, you are leaning, which indicates incorrect hand placement or cane height.
- Examine the evidence: After a week of use, inspect the rubber tip. It should show even, flat wear. Angled wear is a definitive sign that you are leaning and creating shearing forces.
Correcting hand placement is the single most impactful adjustment you can make. It aligns the cane with your body’s natural mechanics, turning it from a source of strain into a tool of genuine, integrated support.
Folding Canes vs Solid Shafts: Is Stability Compromised?
The convenience of a folding cane is undeniable. Its ability to be collapsed and stored makes it a popular choice for travel and occasional use. However, this convenience comes at a potential ergonomic cost. From a purely mechanical standpoint, every joint in a folding cane is a potential point of flexion, which can compromise stability and increase the workload on your shoulder.
A solid shaft cane acts as a single, rigid lever, transferring weight directly from your hand to the ground with maximum efficiency. There is no play in the system. A folding cane, held together by an internal elastic cord, has multiple joints. Even in high-quality models, these joints can introduce a tiny amount of “play” or “wobble.”
This subtle instability may not be noticeable at first, but your body detects it. Your shoulder muscles are forced to make constant, tiny adjustments to counteract this micro-instability. This phenomenon of constant shoulder muscle micro-corrections leads to fatigue and eventually, pain. The cane feels less like a solid extension of your arm and more like a slightly unpredictable one, and your body works overtime to manage it.
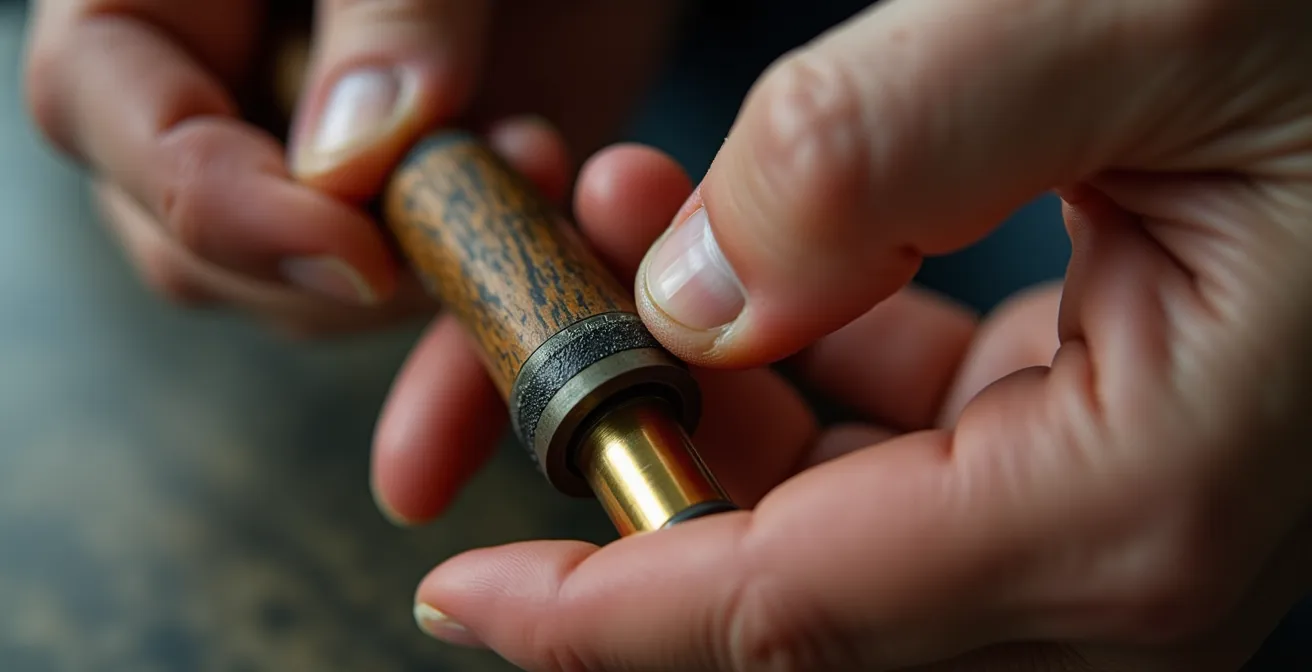
There is a technique to mitigate this. Before putting your full weight on a newly unfolded cane, you should apply gentle downward pressure to “pre-load” the joints. This action helps to seat the segments firmly together and remove any slack in the system, creating a more rigid shaft. The image below captures this crucial moment of engagement.
For daily, heavy use where maximal stability is the priority, a solid shaft cane remains the superior ergonomic choice. A folding cane is best reserved for situations where portability is the absolute priority, and it should always be used with the pre-loading technique to minimize the fatiguing micro-corrections demanded of your shoulder.
How to Alternate Heat and Ice for Morning Joint Stiffness?
The ergonomic system of you and your cane is not static; it changes based on your physical condition. Morning joint stiffness, a common complaint for many seniors, can temporarily but significantly alter your posture and range of motion. Measuring for a cane during this period of stiffness is a primary cause of mis-sizing and subsequent shoulder pain.
When you are stiff, your posture is often guarded and slightly stooped. If you measure for your cane in this state, you will select a length that is too long. As you move around and the stiffness subsides, your posture becomes more upright. Now, the cane that felt right an hour ago is too tall, forcing your elbow to be too straight and your shoulder to hike up with every step. As mobility specialists at Canes Galore warn, measuring for a cane while experiencing morning stiffness is a recipe for a poorly fitted device.
The correct protocol involves managing the stiffness first. Using heat and ice strategically can help restore your baseline posture before you even pick up the cane. Heat is used to increase blood flow and relax muscles before activity, while ice is used to reduce inflammation after activity.
A pre-walk heat application can be particularly effective. Applying a heating pad to your shoulder, elbow, and even your back for 10-15 minutes before you start your day can ease stiffness and allow for a more natural posture. Only after you feel your normal range of motion has returned should you assess your cane’s height. On days with high inflammation, you might even need to adjust the cane to be one notch higher, but this should be a conscious, temporary adjustment, not your default setting.
Never size your cane at your “worst” point of the day. Size it for your best, most mobile posture, and learn to make small, temporary adjustments for the periods of stiffness. This dynamic approach ensures the cane fits you, not your morning pain.
Why Grip Strength Is the #1 Predictor of Long-Term Autonomy?
The discussion of handles and sizing is moot if you lack the grip strength to securely control the cane. Grip strength is not just about holding on; it is a powerful indicator of overall health and a critical component of the cane-user ergonomic system. A weak grip is the starting point for a cascade of compensatory strain that inevitably ends in the shoulder.
When your hand cannot confidently manage the load being transferred through the cane, your body initiates a backup plan. You unconsciously recruit other muscles to stabilize the system. The muscles of your forearm tense up. Then, your bicep and tricep engage more than they should. Finally, the large, powerful muscles of your shoulder and upper back are called into action to do a job meant for your hand.
This process of upstream muscle recruitment turns the cane from a supportive tool into a source of leverage working against your body. The shoulder, designed for a wide range of motion, is forced into a static, stabilizing role for which it is ill-suited. This leads to fatigue, inflammation, and chronic pain. The problem appears to be in the shoulder, but its origin is in the hand.
As renowned physical therapist Dr. Richard Bohannon explains in his research on this vital biomarker:
When the hand can’t securely support the load, the user unconsciously compensates by tensing their forearm, then their bicep, and ultimately their shoulder. This turns the cane from a support tool into a source of significant upper body strain.
– Dr. Richard Bohannon, PT, Grip Strength: An Indispensable Biomarker For Older Adults
Improving grip strength through targeted exercises (like squeezing a therapy ball) is a direct investment in your long-term, pain-free mobility. It’s also essential to choose a cane handle with a diameter and material that you can grip securely and comfortably, such as a padded foam grip, to maximize the effectiveness of the strength you have.
Do not underestimate the importance of your grip. A strong, secure grip ensures that the forces of support terminate in the hand, as intended, rather than being passed upstream to wreak havoc on your shoulder.
Key takeaways
- Your cane is an ergonomic system; incorrect sizing at any point creates a cascade of strain that ends in your shoulder.
- Choose the handle, tip, and shaft type based on your specific biomechanics and environment, not just convenience.
- The single most critical technique is to hold the cane in the hand OPPOSITE your weak leg to maintain your natural gait.
How to Distinguish Between a Standard Walker and a Rollator?
A cane is a tool for balance and light support, not for bearing significant weight. A critical part of preventing shoulder pain is recognizing the limitations of your cane and knowing when to transition to a more supportive device. Confusing a cane’s purpose with that of a walker is a common path to injury.
According to Cleveland Clinic guidelines, a cane can only safely support up to 25% of a person’s body weight. If you find yourself needing more support than this—if you are leaning heavily on your cane to offload a painful hip or knee, for example—you are overloading the device and, by extension, your shoulder. In such cases, a walker or rollator is the appropriate tool.
A standard walker is a frame with no wheels that you lift and place in front of you. It provides maximum stability and can support up to 50% of your body weight, but it encourages a slow, halting gait. A rollator, or rolling walker, has three or four wheels, hand brakes, and often a seat. It allows for a more fluid walking pattern than a standard walker but requires more cognitive and physical ability to control.
The decision to move from a cane to a walker or rollator should be based on your support needs. If your primary issue is balance, a properly used cane may suffice. If you need to bear significant weight off a painful limb, a walker is necessary. A rollator is an excellent tool for those who need support but also want to maintain mobility and endurance over longer distances, such as for shopping or walking outdoors. Using a cane for a job that requires a walker will inevitably lead to leaning and severe shoulder strain.
Apply these ergonomic principles today. Assess your needs honestly. By choosing the right tool and calibrating it correctly, you can transform your mobility aid from a source of strain into a seamless, pain-free extension of your body.